...
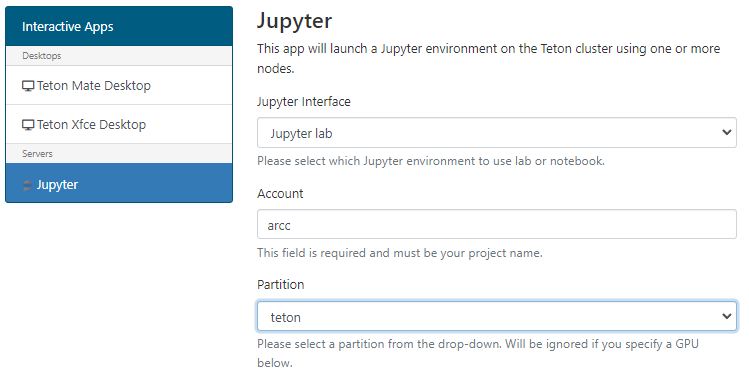
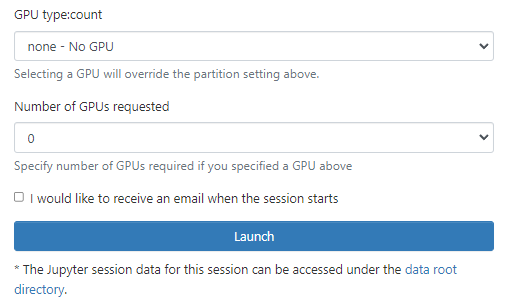
Define account / walltime and other required core/memory and GPU resources.
The maximum walltime allowed is 168 hours (seven days).
We would ask you to remember our general fairshare policy for cluster use and to try to request only the time you need and not to leave long sessions unused.
Wait for job to be allocated. You will see a message detailing that your job currently is sitting in the queue.
You will be allocated a node on the general cluster
Click on the ‘Connect to Jupyter’ button to open a new browser tab to start your session.
Use the notebooks.
Once finished, shutdown your lab/notebook - this will cancel the underlying Slurm job, and free up resources.
Navigate to “My Interactive Sessions' to view the associated card.
You can delete this card or click on the Session ID to open a tab in the associated folder that was created in your home.


Your session will be allocated to an appropriate node on the cluster. If you’re logged onto the cluster you can perform squeue -u <username> to see your slurm allocation and which node it is running on.
...
When you start a new Jupyter session, these two symbolic links will be your file manager. Double clicking on these folders will navigate appropriately:
...
Can I run a Conda Environment within Jupyter?
The answer is yes, and what follows is based on NCAR CISL’s page on Using conda environments for Python access.
Create the Conda Environment with ipykernel
If you’re creating a new, or have an existing conda environment you can add the ipykernel package, and then configure the environment to be consider as a kernel.
The following example creates a python 3.10 environment with Pandas, within my project folder, which I want to be able to use in Jupter.
| Code Block |
|---|
# navigae to my project space.
[salexan5@tlog2 ~]$ cd /project/arcc/salexan5/conda/
[salexan5@tlog2 conda]$ module load miniconda3/4.10.3
# Use the -p option to create the conda environment in my current folder, rather than my home.
[salexan5@tlog2 conda]$ conda create -p pandas_test python=3.10
...
# To activate this environment, use
# $ conda activate /pfs/tc1/project/arcc/salexan5/conda/pandas_test
# To deactivate an active environment, use
# $ conda deactivate
...
[salexan5@tlog2 conda]$ conda activate /pfs/tc1/project/arcc/salexan5/conda/pandas_test
# This step is used to force conda to install all packages specifically within the environment, and not within any local or other locations.
(/pfs/tc1/project/arcc/salexan5/conda/pandas_test) [salexan5@tlog2 conda]$ export PYTHONUSERBASE=intentionally-disabled
(/pfs/tc1/project/arcc/salexan5/conda/pandas_test) [salexan5@tlog2 conda]$ conda install -c conda-forge pandas
...
(/pfs/tc1/project/arcc/salexan5/conda/pandas_test) [salexan5@tlog2 conda]$ conda install ipykernel
...
(/pfs/tc1/project/arcc/salexan5/conda/pandas_test) [salexan5@tlog2 conda]$ python -m ipykernel install --user --name=pd_test
Installed kernelspec pd_test in /pfs/tc1/home/salexan5/.local/share/jupyter/kernels/pd_test
# Note the location in your home folder where this configuration is stored.
# Within this folder you'll find the kernel.json file that points to the location of this conda environment.
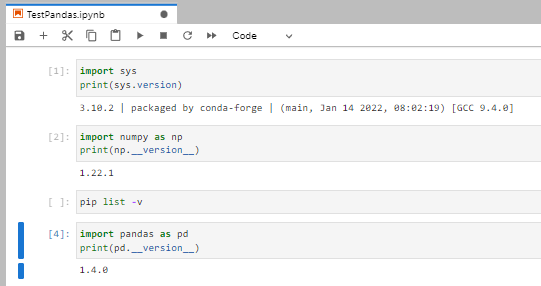
(/pfs/tc1/project/arcc/salexan5/conda/pandas_test) [salexan5@tlog2 conda]$ python --version
Python 3.10.2
(/pfs/tc1/project/arcc/salexan5/conda/pandas_test) [salexan5@tlog2 conda]$ conda list
# packages in environment at /pfs/tc1/project/arcc/salexan5/conda/pandas_test:
...
ipykernel 6.7.0 pypi_0 pypi
...
numpy 1.22.1 pypi_0 pypi
...
pandas 1.4.0 pypi_0 pypi
...
(/pfs/tc1/project/arcc/salexan5/conda/pandas_test) [salexan5@tlog2 conda]$ conda deactivate |
Notice the name of kernel is pd_test, the version of python, and the versions of numpy (1.22.1) and pandas (1.4.0).
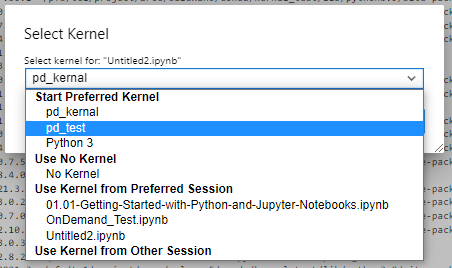
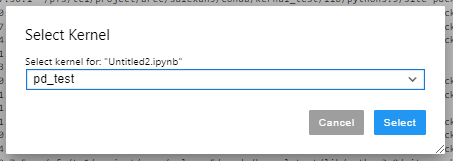
Load the Kernel into a Jupyter Session
Start a Jupyter session and then:
...