 |  |  |
JupyterLab Example
Steps:
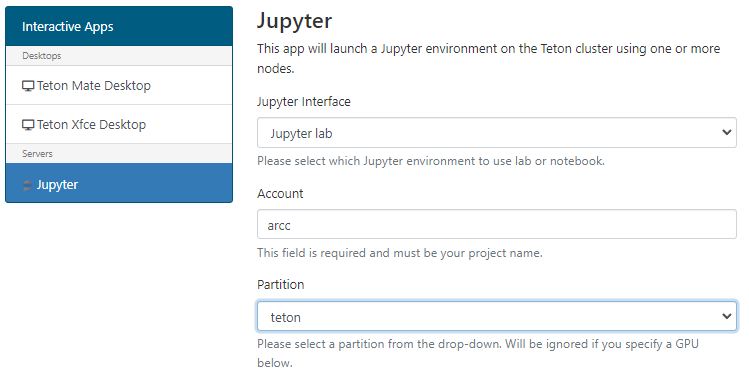
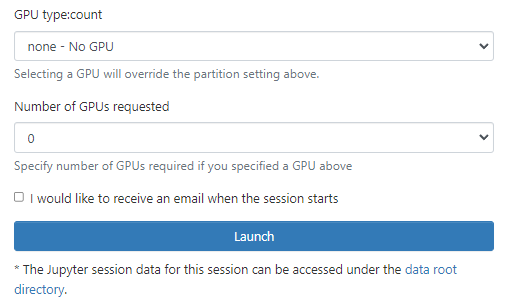
Define account / walltime and other required core/memory and GPU resources.
The maximum walltime allowed is 168 hours (seven days).
We would ask you to remember our general fairshare policy for cluster use and to try to request only the time you need and not to leave long sessions unused.
Wait for job to be allocated. You will see a message detailing that your job currently is sitting in the queue.
You will be allocated a node on the general cluster
Click on the ‘Connect to Jupyter’ button to open a new browser tab to start your session.
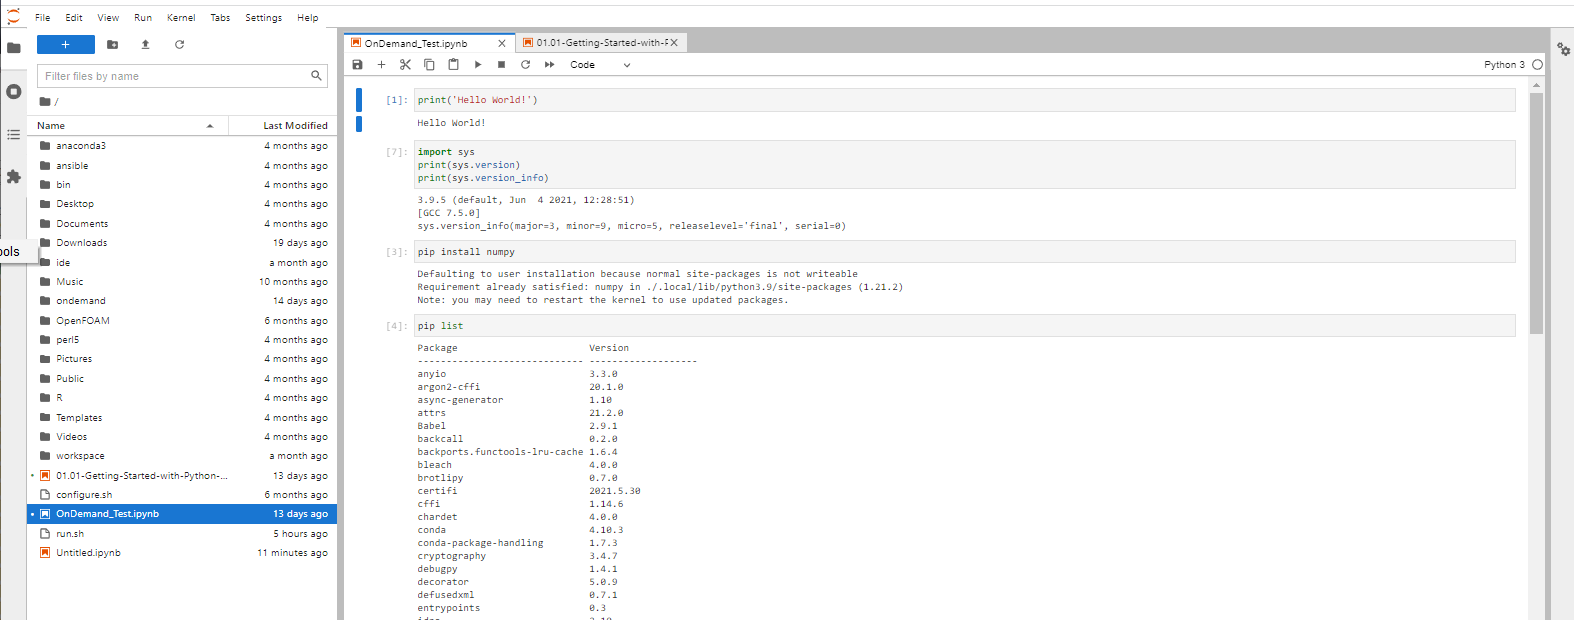
Use the notebooks.
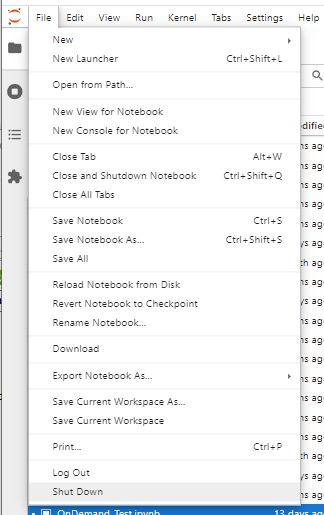
Once finished, shutdown your lab/notebook - this will cancel the underlying Slurm job, and free up resources.
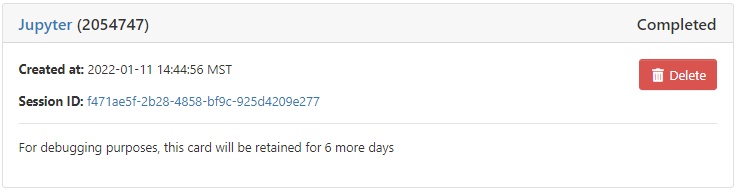
Navigate to “My Interactive Sessions' to view the associated card.
You can delete this card or click on the Session ID to open a tab in the associated folder that was created in your home.

Your session will be allocated to an appropriate node on the cluster. If you’re logged onto the cluster you can perform squeue -u <username> to see your slurm allocation and which node it is running on.
  JOBID PARTITION     NAME     USER ST       TIME  NODES NODELIST(REASON)
2054747     teton sys/dash salexan5  R       1:32      1 t452
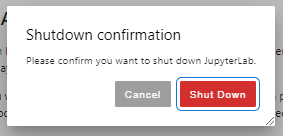
Once shutdown, your slurm allocation will be cancelled.
JOBID PARTITION NAME USER ST TIME NODES NODELIST(REASON)
Work related to this session can be found in the session’s related session id folder under the ondemand folder in your home folder. For example:
[salexan5@tlog2 output]$ cd /home/salexan5/ondemand/data/sys/dashboard/batch_connect/sys/jupyter/output

[salexan5@tlog2 output]$ ls
13aea6e4-1966-4ee9-a86a-7b5ed55f6638  2d7afe4b-5f6f-44d5-b828-866ea4619fd6  5da92139-e166-42aa-8e46-03d851029940  839185fb-930a-4b16-b38d-37240002f42d  f7c5b163-b689-417e-86d7-48e86d1b490e
1d74e3a5-332e-4588-a866-0e88d487b281  3bbda97d-7f59-4ebd-9b7b-91b5334ab560  61637eb8-db59-4af3-8f7a-e48ab33ee6ca  8d9d1a5f-89a4-4386-a89a-74854d9ba346  faec06c1-7e88-40c3-a4c8-af49c520b5eb
1fd86d70-6187-4a28-9dc0-78bcd998c2e9  3d3905a6-500e-4227-8658-b3a1ffc4d0b6  6b23acf2-1a14-4bac-9f2a-266b55a577d0  d42426a6-308d-48f1-ab71-bad01012609e
2127f26c-dfae-4905-a984-0f5753655309  48f98884-e59b-495b-b1a8-800c5c996ede  79fc87b2-c96e-4ff8-bc30-b393fd897bda  f471ae5f-2b28-4858-bf9c-925d4209e277

[salexan5@tlog2 f471ae5f-2b28-4858-bf9c-925d4209e277]$ ls
after.sh  before.sh  config.py  connection.yml  job_script_content.sh  job_script_options.json  output.log  script.sh  user_defined_context.json
Connecting to your Project and GScratch
Currently you can not directly navigate out from you /home into your /project nor /gscratch.
The suggested solution to this is to create symbolic links to you project and gscratch, within your home, that you can then click on to navigate.
For example:
[~] ln -s /project/arcc project
[~] ln -s /gscratch/salexan5/ gscratch

[~] ls -al
...
lrwxrwxrwx   1 salexan5 salexan5     19 Nov  4 16:15 gscratch -> /gscratch/salexan5/
...
lrwxrwxrwx   1 salexan5 salexan5     13 Nov  4 16:13 project -> /project/arcc
...
When you start a new Jupyter session, these two symbolic links will be your file manager. Double clicking on these folders will navigate appropriately:
